Our expert guide to home theatre
Our comprehensive guide walks you through the steps to experiencing fantastic movie sound at home. From choosing the right equipment and selecting the best speaker locations, to understanding the science behind the sound, our expert gives you the knowledge you need to rival your local multiplex.
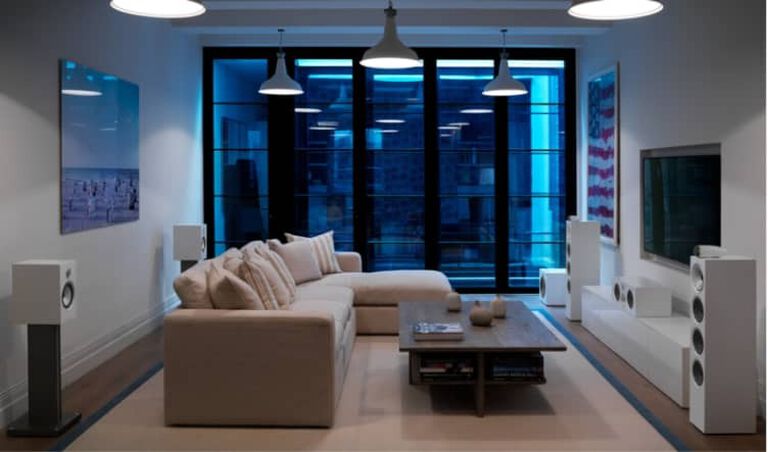
Great hi-fi brings you closer to the reality of the musical experience, but the best home theatre (home cinema) systems perform a subtly different function: they can transport you to another environment altogether. Proper home theatre systems are intended to recreate the sound, vision and even acoustics of a movie theatre, removing you from the confines of your front room and transporting you into that larger, more spacious environment. And unless you’re lucky enough to have a truly excellent cinema nearby, chances are the home experience might even sound better!
If the system is working as it should, you should feel ‘there’ – every bit as involved in the film as you would be watching it from the best seat in the best movie theatre in town, with the added advantage that you can better control your environment (and the volume levels of your fellow viewers).
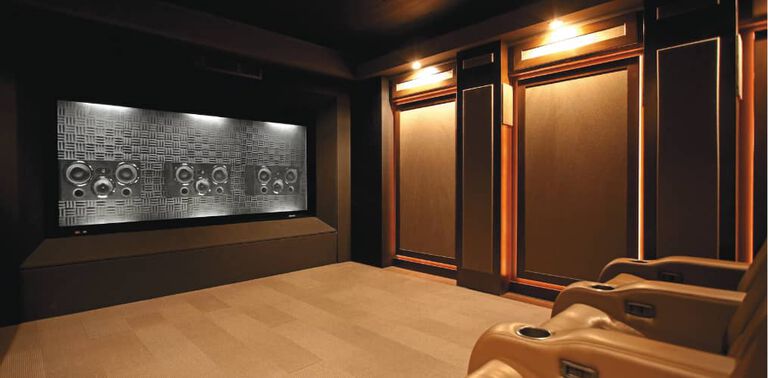
We believe that the best home theatre experience stems from carefully matched, properly configured speaker systems able to accurately relay the full dynamic range of even the most demanding movie soundtracks – for us, great home theatre is about more than the crude ‘boom and bang’ stereotypes used in some circles to describe home theatre sound.
We believe that a good system should also recapture the emotion in a voice, the detail in an ambient surround effect – whether it’s in front, behind, or even above you – or the subtlest nuance of a music score. In other words, it should relay every sonic element as accurately as great hi-fi – which is why we manufacture home theatre speakers with exactly the same care and attention as our dedicated hi-fi designs, and also why our hi-fi components can also perform superbly in a home theatre context.
What is Home Theatre, and what does it do for me?
The perfect music recording adds as little as possible to the original performance: ideally, you should be able to hear the artist’s voice, or the instrument he or she is performing on, in their original, unvarnished form, as if they are actually there in the room, performing especially for you.
By contrast, every sound you hear in a movie theatre is a trick. No one has ever stuck microphones next to a nuclear explosion and recorded it. No-one has ever recorded a T-Rex roar, the crash of a passenger liner as it snaps in two, or the howl of a spaceship as it screams past your ear – after all, in space no-one can hear you scream, let alone a spaceship. These are 'best guess' sounds, designed to create a convincing and impressive sonic experience that adds to the movie theatre experience – but they’re not ‘real’.
In fact, every sound in a theatrical soundtrack is generated after the film has been completed. The dialogue is re-recorded in a studio to ensure perfect clarity and minimal sibilance, the music is introduced, and then the sound effects are added – usually after months of careful recording work, gleaned from a variety of audio sources, some of which can be quite unusual. For example, biological sounds – whales, especially – can be used to help reinforce deep bass effects in explosions, while the sound of the Titanic breaking in two was created using a gravity-driven concrete car crusher and some substantial decking planks.
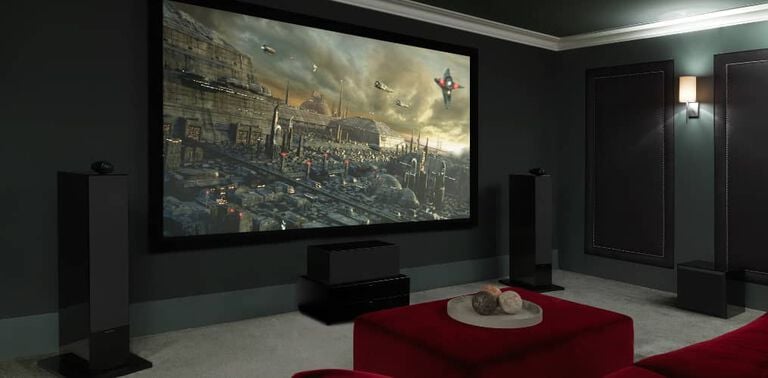
And if you think that’s odd, the velociraptors in Jurassic Park were ‘voiced’ by a horse, a goose and a pair of mating tortoises (which apparently took a very long time to record!), while one of the major ‘vocal artists’ for the T-Rex was the sound designer’s Jack Russell terrier.
The sound designer’s art is also constrained by the need to preserve the most crucial element of the movie soundtrack – the dialogue – intact: most directors object to having their scripts obscured in a sonic melee, and are prepared to sanction some quite unusual sonic tricks to preserve clarity.
This distinction is important, because it helps to better understand the function of a home theatre system. Unlike hi-fi, it’s not there to convey reality: it’s there to create it, or whichever version of it the movie director is attempting to reproduce. To that end, the best systems should ‘fool’ you into believing that you are sitting in a movie theatre, enjoying the entertainment experience laid before you every bit as much as you would in the ‘real’ environment.
How is home theatre sound recorded, and what do I need to replay it?
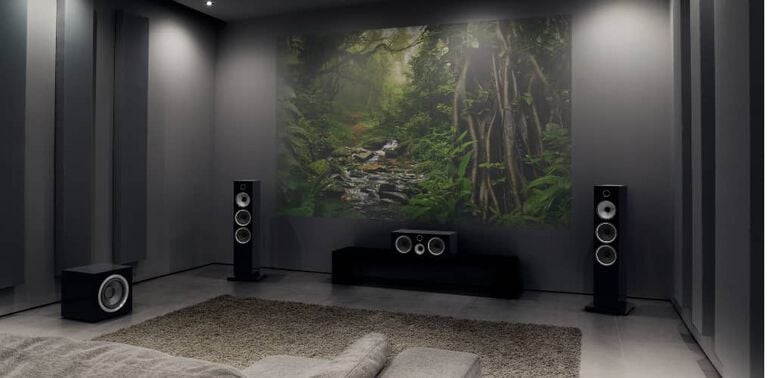
Most movie soundtracks are digitally encoded into multiple ‘channels’ of audio, each dedicated to specific tasks within the surround ‘soundfield’. In most instances, you’ll find audio channels dedicated to front, centre (dialogue) and surround signals, giving a total of five main channels, and a sixth bass-only channel dedicated to bass reinforcement. This ‘.1’ channel contains approximately 10% of the audio content found on other channels within the surround soundfield (as it only handles low bass signals) – giving rise to the expression ‘5.1 surround sound’.
In some soundtracks, an additional sixth or seventh channel of audio content has been encoded into the mix to add extra surround spaciousness, giving a 6.1 or 7.1 soundtrack (see our Separates section for more). This can be replayed either by one or two extra rear speakers, giving a total of either six or seven in the system.
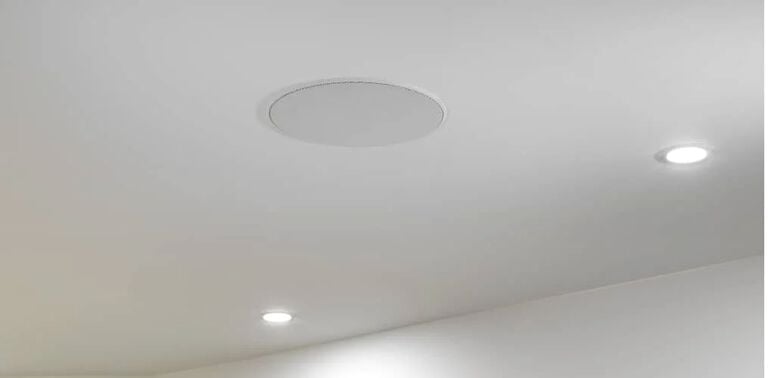
And then we move into the relatively recent addition of ‘3D’ sound, in the form of Dolby Atmos, DTS:X and Auro 3D, which brings more speakers into the mix, in the form of height channels. In a full-blown cinema these might actually be in the ceiling, and indeed in a dedicated home cinema set-up you could use in-ceiling speakers from our custom-installation ranges, but for convenience these channels can be also delivered by speakers mounted high on the side walls, or using upward-firing units bouncing their sound from the ceiling.
That brings us up to a potential 7.1.4 system – seven main speakers, a subwoofer and four height effects channels – but even that’s only a fraction of what you’d find in a movie theatre: Dolby Atmos, for example, can support up to a 24.1.10-channel configuration!
Home theatre building-blocks
However, let’s not get carried away just yet – instead, we’ll look at the core elements of home theatre system in more detail. First and foremost, you’ll need a good-quality display, and preferably, a big one: large-screen TVs are ideal, while the optimum, most cinematic results come from a front projector, used in harness with a dedicated projection screen. This will involve watching in a properly darkened room to ensure the best results, but in our view, this only adds to the movie theatre experience.
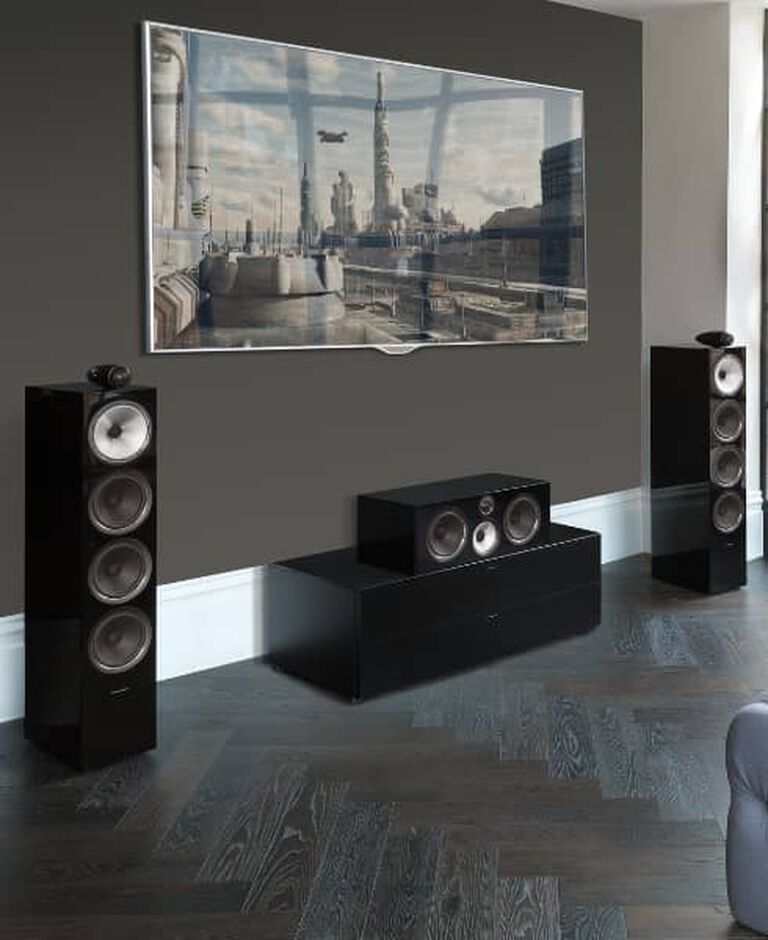
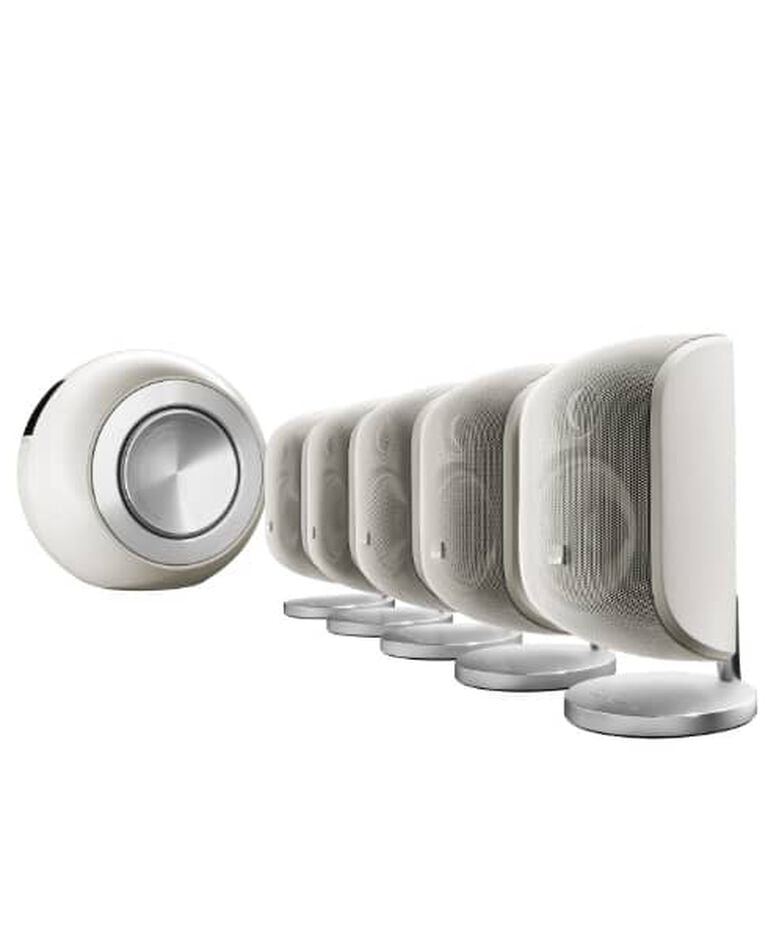
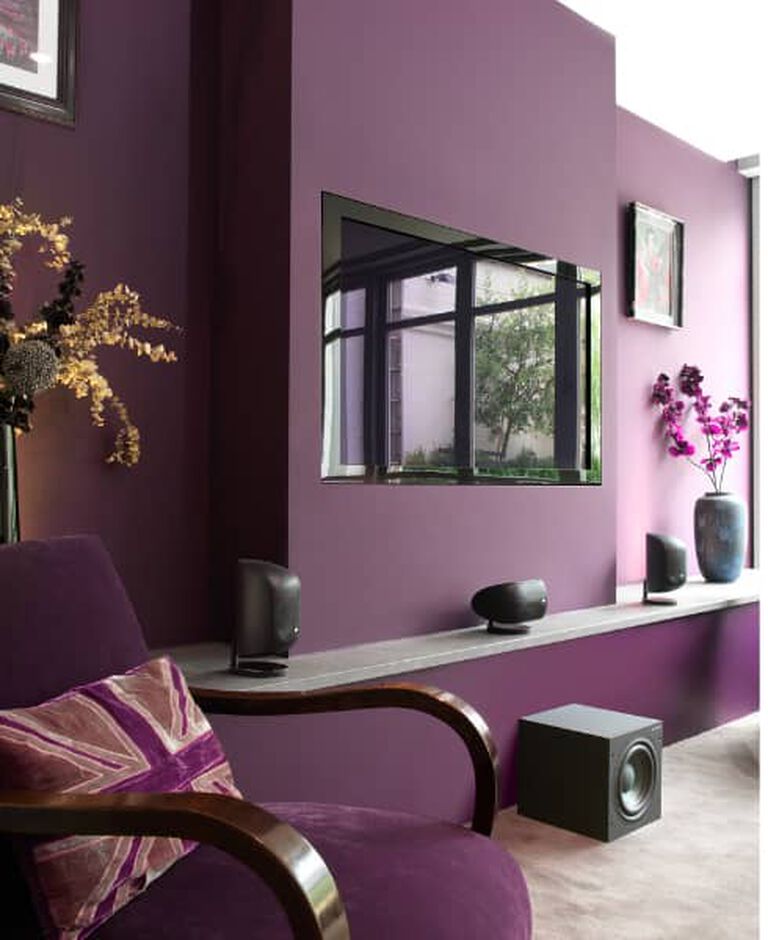
Next, you’ll need a source, which for most buyers, means a Blu-ray player or – increasingly – access to a TV service offering 4K content, whether that’s via cable/satellite TV or online streaming. Disc players have become increasingly disposable items in the modern market, with Blu-ray machines costing as little as £50 in some places, but while superficially appealing, these bargain-basement buys will do little for your home theatre enjoyment.
A higher-quality player will not only provide a better picture for your screen; it will also deliver superior sonic performance. In the context of a £4000 system, a player from about £200 upwards will be suitable – and, as well as playing standard Blu-ray discs (and your old DVDs) will also handle 4K Blu-ray titles.
Then, you’ll require a surround sound processor, amplifier or receiver. This will provide all the audio channels needed to drive your loudspeakers – at least five, possibly more, as mentioned – plus all the necessary surround sound decoding. For our £4000 system, and allowing for funds already spent, consider a £400-£500 design appropriate, although bigger rooms and speakers will require a larger investment.
Whether a processor (which requires an additional, separate power amplifier) or an amp/receiver, the key audio work is carried out by powerful digital signal processors, which take the digital signals fed to them and ‘place’ the sounds into the appropriate position in your room. These sophisticated electronic brains also automatically compensate for the acoustic properties of your room, and the relative placement of your speakers within it, to better recreate the acoustic signature of a movie theatre.
This can include compensation for the smaller number of speakers you’ll be employing relative to the real thing – which can have as many as 48 pairs of surround speakers, something few homes will readily accommodate! Some models can even create virtual channels, for example giving the illusion of those height speakers above you without having to cut holes in the ceiling.
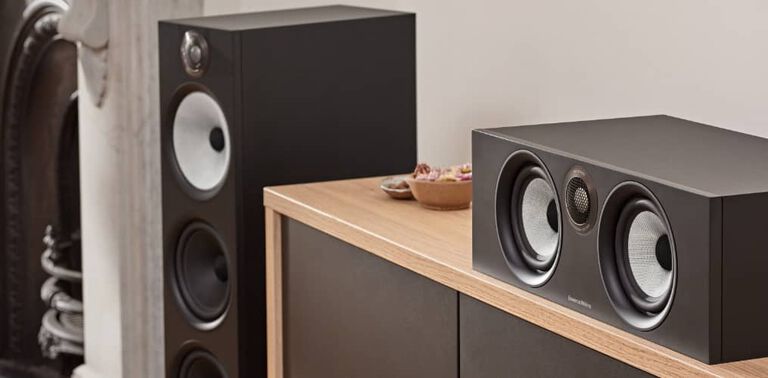
On which subject, you’re still going to need a speaker system, which will be powered by your amplifier or receiver. There’s a massive variety on offer, from compact satellite systems through to huge floorstanding set-ups, but the key element is that the speaker package needs to be tonally identical on all channels, so that your attention remains focused entirely on the soundfield generated by the collective whole, rather than the sonic foibles of one individual speaker. The slightest variation in tonality or volume, especially in the centre channel, can ruin the illusion, and with it, your experience. That’s why we produce dedicated centre-channel speakers to suit almost every loudspeaker range we produce, and we carefully tonally match all our loudspeakers for use in this way.
Whichever size of speaker package you choose to buy, you should also budget for a bass-generating subwoofer. Powered internally by its own dedicated power amplifier, this will ensure you hear the full theatrical experience, complete with deep, articulate bass, as the director intended. Two subs (or more) will be even better, but that can wait for your first upgrade…
Invest in all these elements – display, source, amplification and speakers – and you’ve the guts of a home theatre system. To fine-tune it to get the best results, visit our Set-up blog.
Why buy separates?
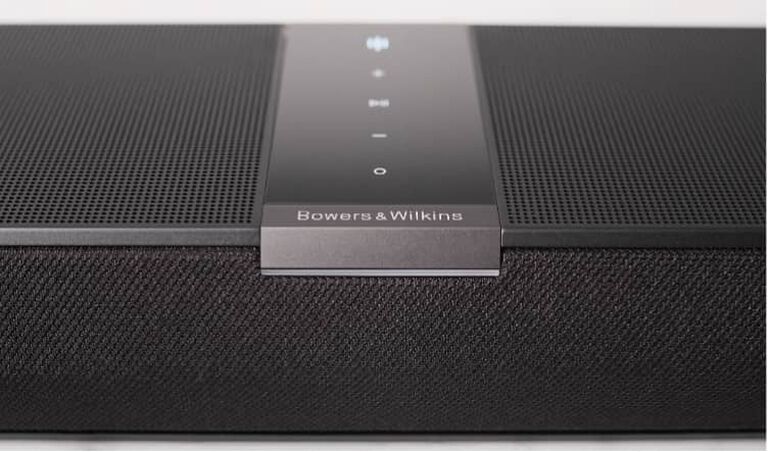
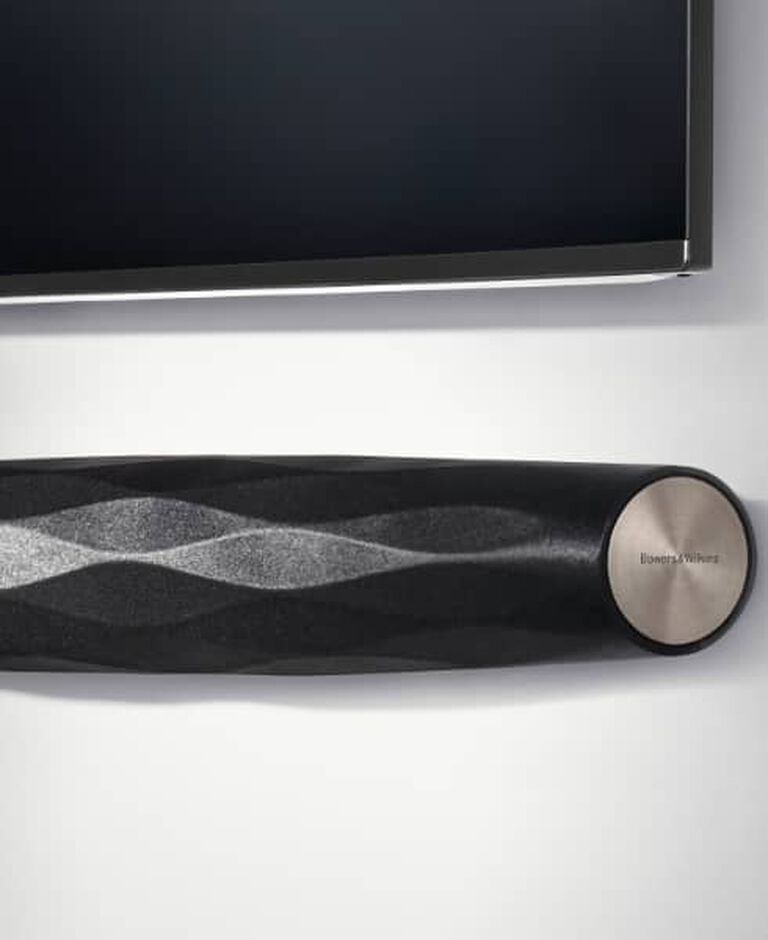
The simplest form of home theatre system is a soundbar, which will sit above or below your TV screen, and uses clever digital processing to create the illusion of surround from (usually) three channels of amplification and speakers – left, centre and right – with some also featuring upward-firing drive units dedicated to reproducing Dolby Atmos soundtracks.
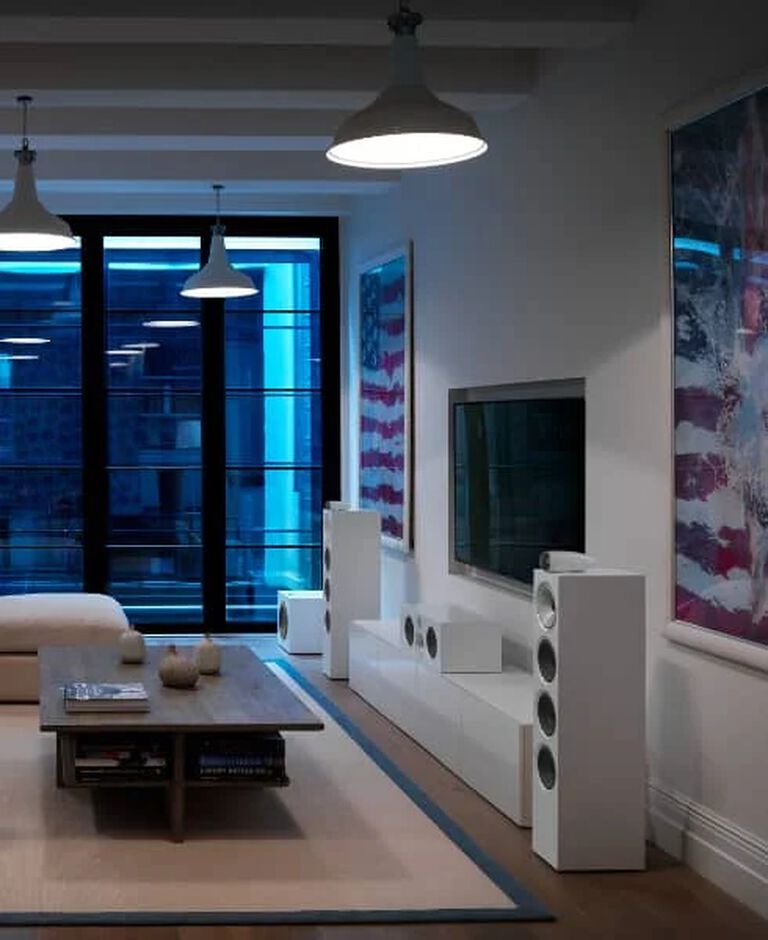
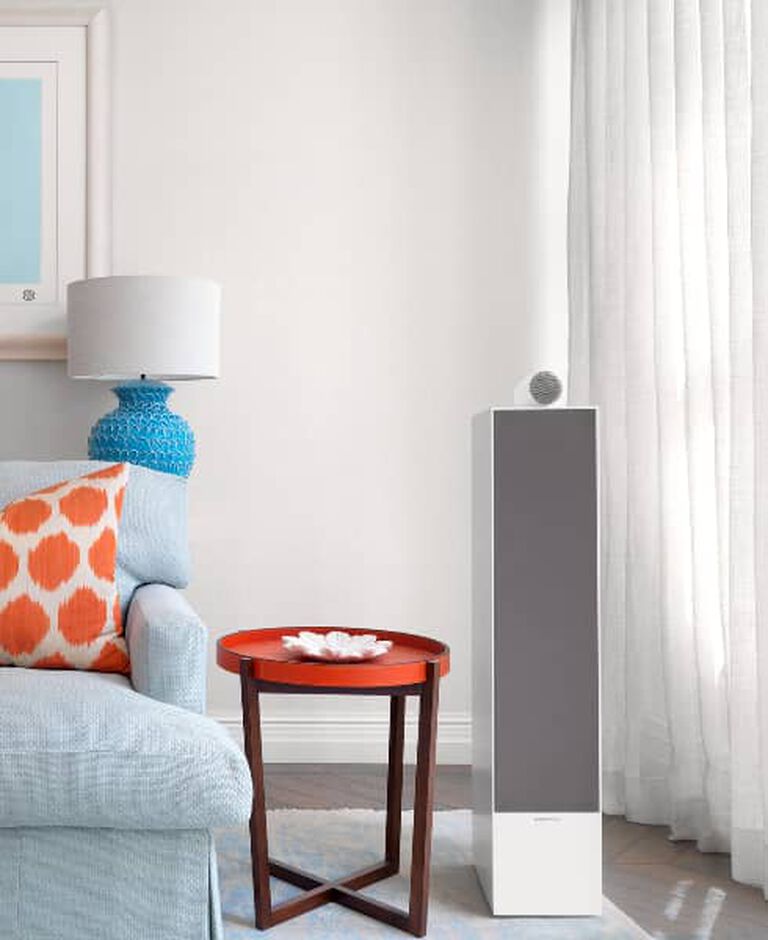
The next step up are compact speaker solutions such as the award-winning Bowers & Wilkins Mini Theatre systems. These offer exceptional performance, while still retaining the key benefit of being compact and discreet.
The next level up is separates. Choosing separates ensures you have the best opportunity to enjoy both excellent performance and a long lifespan for your system. Even the cheapest surround sound receivers will sonically outgun an all-in-one system, with, more power and grip (control of the speakers), greater composure, more exciting dynamics and vastly superior surround sound processing. They’ll also offer an extensive range of input sockets for source components – far more than many users are likely to need, in truth – coupled to additional channels of amplification to support 3D surround sound.
If you don’t intend using these channels, you can frequently redirect them to suit other purposes, such as bi-amplifying your front speakers (see our Hi-Fi guide for more), or even, in many instances, powering another pair of speakers in a second room in your house. Most receivers can also serve as video-switching hubs for all your sources, simplifying your wiring (and your system’s operation) by allowing you to route video signals through the receiver and onwards to your display. When you touch one button to change from, say, Blu-ray to TV, both the sounds you hear and the pictures you’ll see will change correspondingly – a great convenience feature.
Finally, opting for separates allows far more flexibility over speakers. You can opt for large or small designs as your room, budget and tastes allow – and you can also opt to add more speakers, giving a still-more cinematic surround effect. Although not strictly necessary in many living rooms, a 7.1 speaker array, or even an ‘all around you’ 3D audio set-up, can add considerable surround ambience to your listening, and also tends to give more flexibility over speaker placement.
And of course you could also consider adding that additional subwoofer – again, perhaps best reserved for very large rooms – for a still-more convincing and realistic spread of bass: we’ve seen systems where four smaller subs are used in place of one massive one, giving fast, deep bass that really drives the air in the room for the full stomach-churning effect.
How do I set-up my home theatre system?
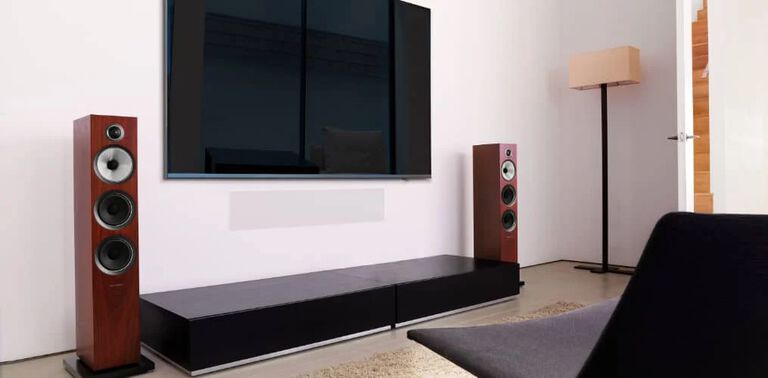
Assuming you’ve opted to buy speakers from the same manufacturer for every channel in your home theatre system – as we said, a fundamental step towards proper speaker-to-speaker integration – the next crucial step in better home theatre is to position them correctly in your room. There are international standards for multichannel recording and speaker placement for playback, often employed by studio engineers when mixing surround audio for both movie and music use. They’re effective, but probably too rigorous for most homes, for example requiring identical speakers for each channel, which is tricky if your system uses floorstanding speakers for left and right front channels. What’s more, the configuration also takes little account of the common need for a system that can be accommodated to one side or another of a chimney breast, or fitted round doors and windows.
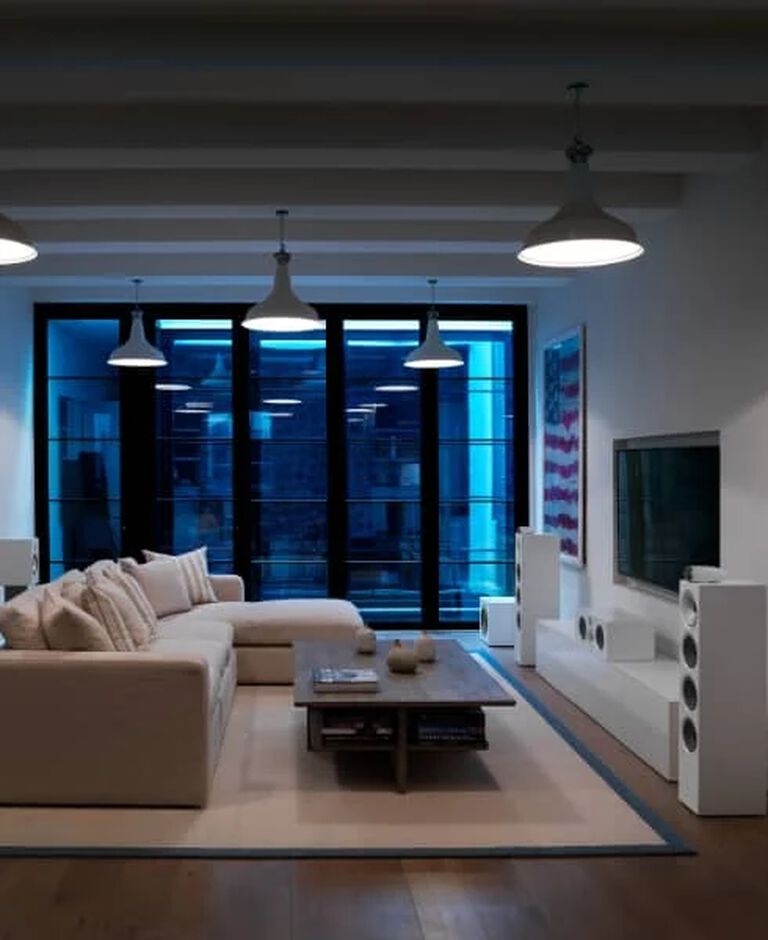
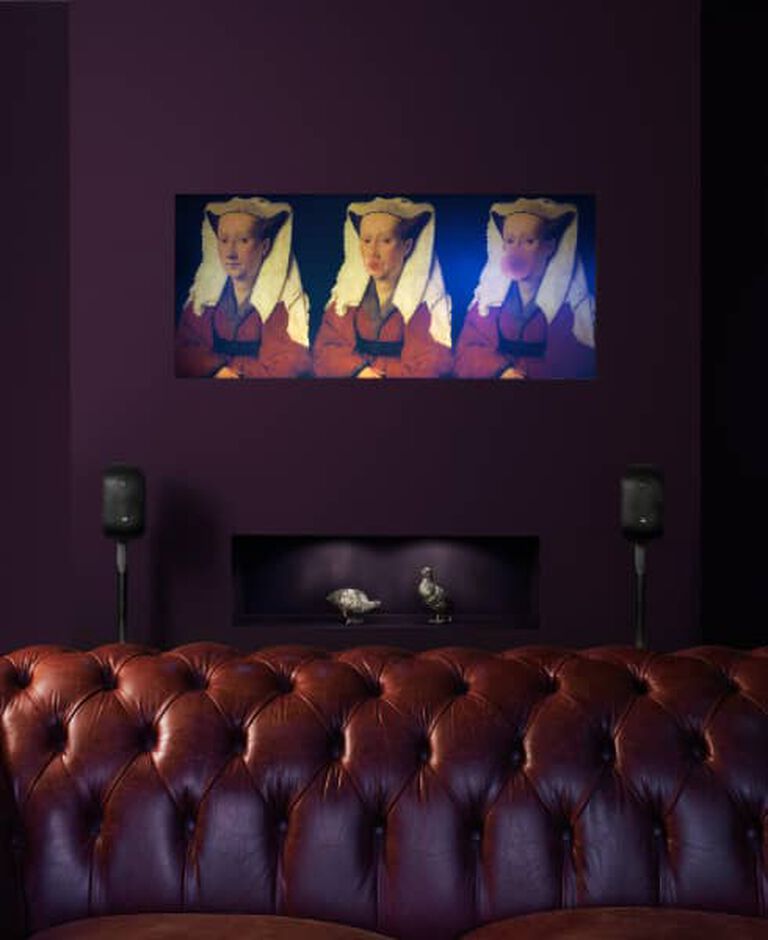
Broader guidelines, then, are as follows. First, try to get the rear surround speakers high up on the walls, tilted down towards your listening position (this is true of two, three or four rear speaker systems). If you don’t want to wall-mount your speakers, consider using tall stands instead. The key is to avoid placing your rear speakers too close to your ears: height helps introduce an additional, natural acoustic ‘delay’ to the sound. The only exception to this rule is a dedicated dipole/bipole surround speaker, which fires sound in multiple directions at once. Designs such as this can be placed alongside or behind the listening position, but shouldn’t be tilted downwards.
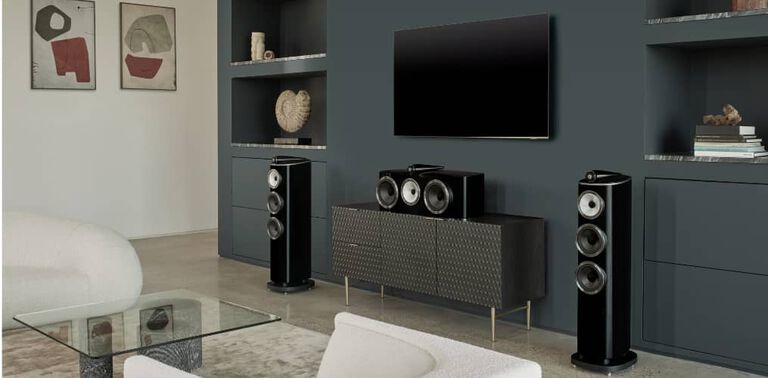
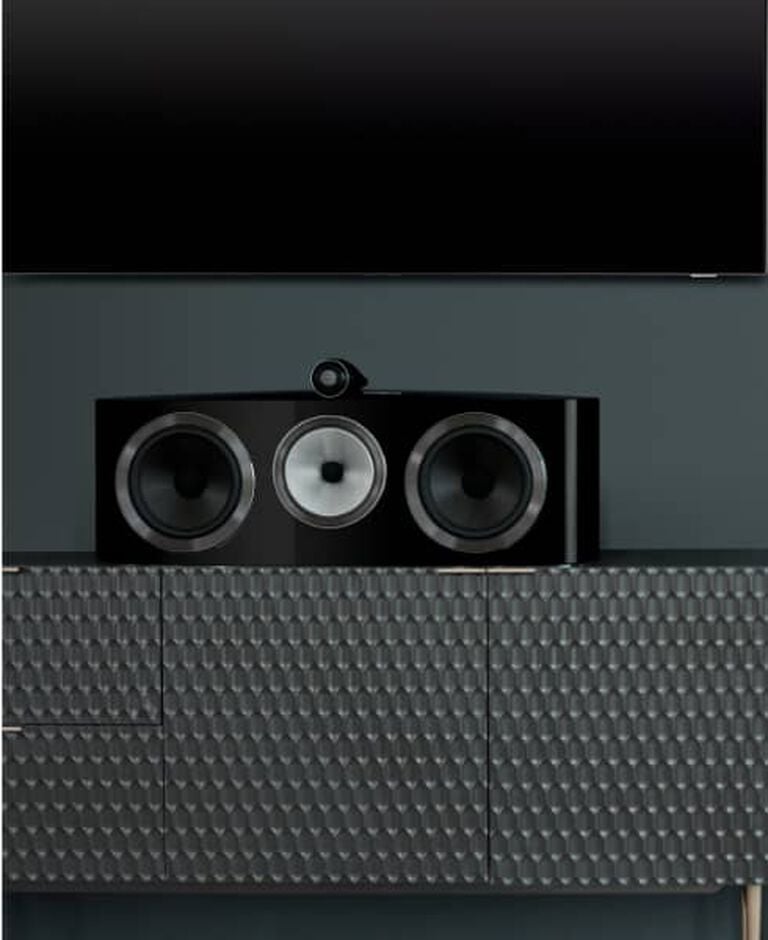
Secondly, place your centre speaker in the same vertical plane as the main left and right speakers – under the TV, if possible. Try to align its tweeter with that of the other front speakers in your system, or if that’s not possible, borrow or buy a laser pointer and align its angle of tilt so that it focuses on to the same position on your seat as your other speakers. This can be extremely effective, as centre speakers are often set-up to send sound to the listener’s kneecaps, not their ears, which doesn’t help clarity. This can be avoided with a simple tilt of your centre speaker.
Further centre-speaker tweaking will help focus your system’s soundfield. If you imagine a shallow, curved arc that runs through the plane of your main left and right speakers, the centre speaker needs to be placed at its apex, so that it sits right at the heart of the stereo image generated by your main speakers, and slightly behind them. It should also be placed equidistant between the two, or as close as it is practicably possible to be.
How about my subwoofer?
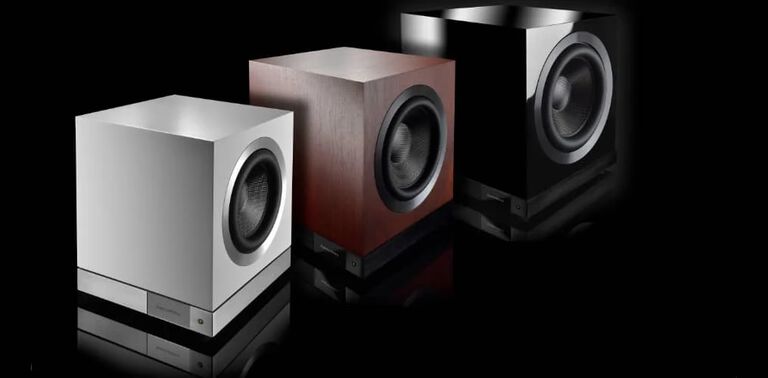
The subwoofer is a vital element in good home theatre sound: aside from the obvious dynamic benefits it can impart, it can also open up midrange details, contribute to musical bass lines and even match low-frequencies to your room’s acoustics more effectively. However, a bad subwoofer will do more harm than good, by slowing your balance down, softening out your system’s attack, and generally making a ham-fisted sonic nuisance of itself. In our view, you’re better off having no subwoofer at all, rather than opting for a compromised performer.
Once you’ve specified a sub, the next stage is to integrate it into your system. One common school of thought holds that subwoofers can be positioned anywhere in your room, as bass is ‘non-directional’, but we’d disagree. A spot of fine-tuning can notably improve your system’s speed and integration, both with movies and music.
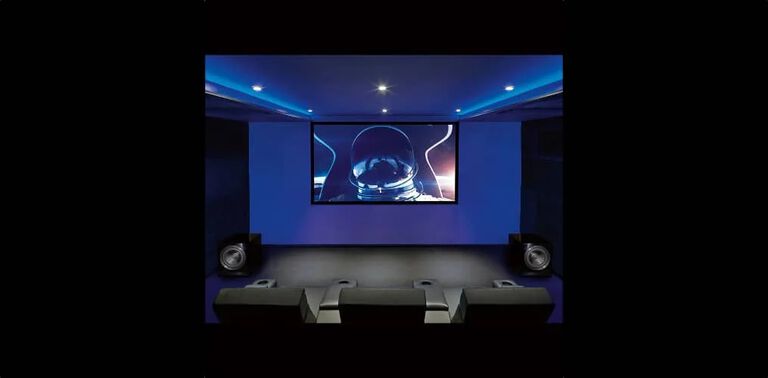
Here’s how. Put your subwoofer next to where you would normally sit. Disconnect your speakers (at the receiver end), but leave the subwoofer connected, and plugged in. Play a loud piece of music, with a consistent bass beat. Walk around the room, listening to the bass as you walk. You'll find it sounds louder in perhaps two or three places in the room (often, these are corners). Put the subwoofer in one of these positions, which are referred to as ‘nodes’. If this turns out to be behind you rather than in front of you, you may need to reverse the sub’s phase, using a simple switch fitted to its amplifier control panel.
What about my amplifier or receiver? How do I set that up?

Almost every modern amp, receiver or processor comes with automatic speaker calibration, based on a simple plug-and-play microphone that measures your speakers’ acoustic capabilities, your room’s size and the relative position of each speaker within that space, before compensating for each variable.
However, should you wish to understand the basics (or simply have a tinker with speaker set-up yourself), here they are. Every audio channel in a multichannel surround soundtrack is a ‘full-bandwidth’ signal (save for the bass, or .1, channel). This means it offers the potential for deep bass from each speaker, offering extension down as low as 20Hz – far beyond the bass extension of almost every available speaker, save for our very largest designs. To ensure you don’t miss out on every available drop of soundtrack performance, and also to guarantee proper protection for your speakers when placed under severe sonic load, you can apply a series of electronic protection filters, called ‘bass management’, which remove low bass from as many speaker channels as you deem necessary, before directing it onwards to your subwoofer.
For that reason, the first job you’ll need to consider when configuring your system is teaching your surround amplifier or receiver about your speakers. It needs to know how many you have, how big they are (and hence how much, or how little, bass they can handle) and whether you own one, two or no subwoofers. This is done in the ‘speaker set-up’ menu section of most electronics, and usually involves making a straightforward decision between ‘large’ speakers – capable of replaying deep bass – and ‘small’ designs. In some cases, you’ll also be able to enter in a precise crossover value, which will accurately set the point at which your speakers hand over low-frequency responsibilities to your subwoofer: check the manual supplied with your speakers for more details here.
What about delay times and speaker levels?
Adjustable speaker ‘delays’ allow your electronics to automatically compensate for your room size, and for situations where, for example, your rear speakers are positioned closer to your seat than your front speakers. If you didn’t add a slight delay to the sound in such circumstances, there’s every chance you’d hear the rear speakers before the fronts – most likely not what the director intended at all. To set delays, you need to measure the distance from each speaker to your seat, and enter those values into the 'delay' section of your amp or receiver's set-up. Most modern receivers and amps offer the choice of metres or feet for precise speaker delay calibration, which makes the job easy. However, some older kit requires you to enter in values to account for milliseconds of delay (which effectively does the same job, but which simply means you have to do the calculations yourself, rather than the processor). To work out these delays, use the following calculation: first, measure the distance from your front-left speaker to your seat. Then do the same for your left-rear speaker. You’ll have two numbers. For every 30cm of difference between these two figures, add 1ms (millisecond) of delay. For example, 300cm to front speakers, 150cm to rears = 150cm of difference, so 5ms of delay.
Finally, you’ll need to set the relative volume level of each speaker, and your subwoofer. This is done using your receiver’s built-in test tone, which can be used to both ensure you've wired each speaker up correctly, and to adjust each speaker to an even, consistent level of volume around the room. It’s best tested using a sound pressure level meter, which will cost you as little as £20 online – or you could always use a free app on your phone, which will be more than accurate enough.
Set the meter to ‘C’ weighting, and ‘Slow’ response and – if you’re using a standalone meter, point the microphone upwards rather than at your speakers. Turn on your receiver’s test-tone, and turn up the main volume dial until you get a reading from the front-left speaker of 75dB. Then use the volume trims on your receiver’s remote to adjust the tone from every other speaker in the system until it shows that level.
If all that sounds like a lot of work, you’ll understand why automatic calibration systems have become so popular. Remember, too, that if you’re not completely happy with the automatic set-up results, you can always ‘tweak’ them a little to get the sound you want, which after all is the most important arbiter of enjoyment. After all, you can always set things back to the ‘proper’ settings to avoid awkwardness when your friendly neighbourhood Hollywood sound designer pops round for the evening.
Don’t worry if all that seems like a lot of work. In most cases you will only need to do it on initial set up, and after that you can sit back and enjoy what will in all likelihood be the best home theatre sound in your postcode!
